Turbo Soccer Ball Control Guide
Turbo Soccer ball control explained: how approach lines, contact points and car hitboxes steer the ball, and how to use the white landing circle to position your car.
The most reliable touch in Turbo Soccer is also the simplest: roll up behind the ball with the goal in front of you and drive straight through it. The ball leaves along your approach line, toward the goal. Everything else on this page is a variation on that idea — your approach line chooses the ball's direction, and where and how your car meets the ball chooses its height. Master that, learn to read the white landing circle under an airborne ball, and you can put your car where the next touch will happen instead of chasing lucky impacts.
What a touch does to the ball
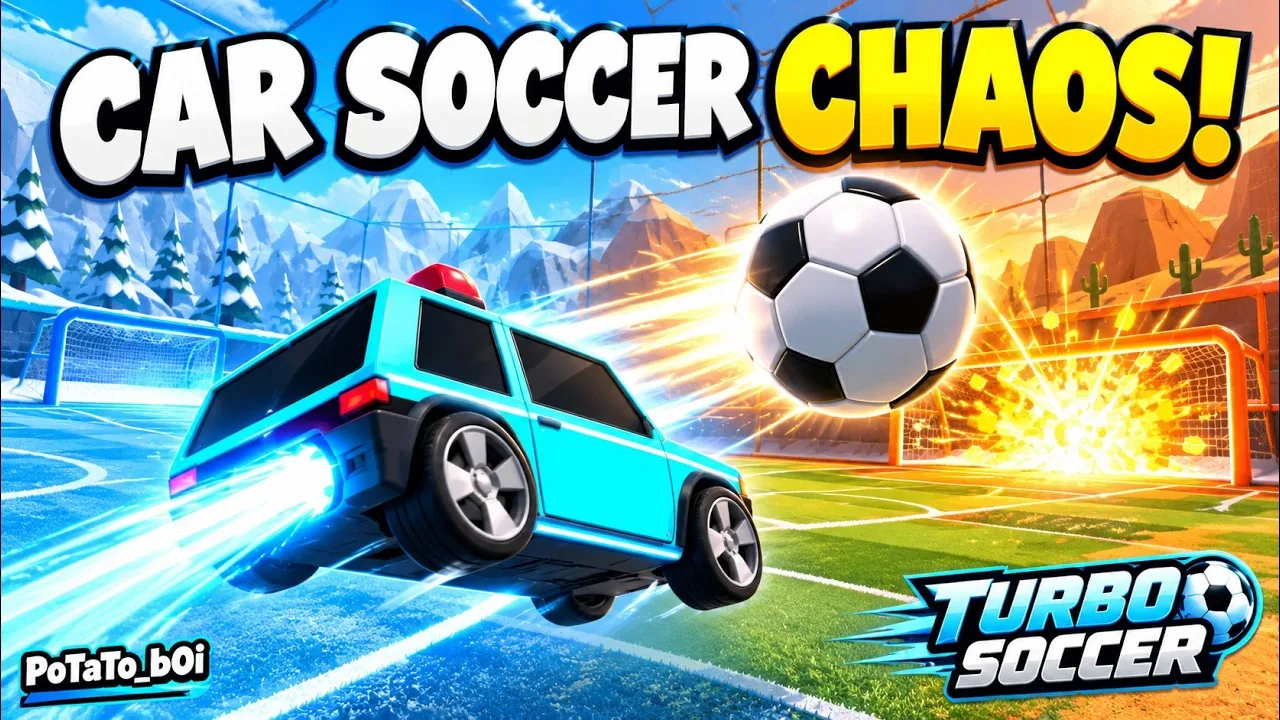
Turbo Soccer is car soccer at its base: drive into the ball and score in the other team's goal. Touches feel different from similar games, though. Playtesters and video creators testing Beta 1.0 describe it as slightly more forgiving and floaty than Rocket League, with the soccer ball noticeably large relative to the net — which makes basic shots and defensive clears easier for beginners. A creator comparison likewise describes the car-ball contact as much lighter, with a satisfying hit sound on contact.
For your expectations, two practical takeaways:
- Expect floaty arcs, not rigid rebounds. Touches carry the ball on softer, higher paths than you may be used to, so plan to arrive under the ball rather than meeting it at ground level.
- Don't assume transferred habits. One comparison review finds the rotate-boost-challenge flow translates remarkably well, while a former top-ranked Rocket League player says the controls feel very different — and advanced techniques like wave dashes and intricate freestyles reportedly feel less responsive due to Roblox engine quirks. Treat familiar habits as things to re-test, not guarantees.
How to hit the ball: approach first, contact second
Direction comes from your approach. The beginner method is to approach from behind the ball, face the goal, and drive through it — the ball travels along your approach line. The contact must stay grounded: holding the jump button (right mouse) lifts the car into a floating state, and accidental clicks launch you over the ball instead of through it. Keep four wheels on the turf until you actually mean to go airborne.
Once direction is set, the contact point and type set the height:
| Contact | What you do | What the ball does |
|---|---|---|
| Grounded drive-through | Approach from behind, face the goal, drive through with four wheels on the turf | Travels forward along your approach line |
| Boost–jump flick | Boost at the ball, then jump into it | Flicks the ball upward quite a lot |
| Ramp-nose drive | Drive into the ball with a flat car whose nose acts like a small ramp | Sends the ball flying up into the air |
| Mid-air redirect | Single or double jump, flip forward or backward, or boost while airborne | Redirects the ball mid-flight |
The car you drive changes how easy these contacts are. Each car has its own hitbox: a car with a massive square hitbox is easier to hit the ball with, while a flatter car's nose works like a ramp that pops the ball upward on a plain drive-through. The creator who demonstrates both treats the choice as personal preference — pick the shape that matches whether you want easy contact or built-in lift. Our best cars guide compares the options.
Airborne contacts complete the toolkit: single and double jumps, forward and backward flips, and aerial boosts all redirect the ball mid-air. The aerial guide covers flying contacts in depth, and the boost guide covers keeping enough fuel to attempt them.
The landing circle: Turbo Soccer's ball landing indicator
When the ball goes airborne, a white circle appears on the floor beneath its flight path. In a gameplay walkthrough, the creator pops the ball into the air, points out the circle, and identifies it directly: it's an indicator of where the ball is going to land.
That gives you a concrete positioning rule: whenever the ball is too high to track visually, stop looking up and look at the circle instead. It marks the predicted landing spot, so drive there and you'll meet the ball as it comes down — the creator's own framing is that you can use it to your advantage.
Two boundaries matter for how you rely on it:
- The circle predicts where the ball lands. Nothing documented shows whether it also accounts for the bounce or roll after touchdown, so be ready to chase a rebound past the circle.
- The circle is demonstrated in a single gameplay video at one point in time. HUD details can change with updates; if you don't see the circle after a patch, pop the ball into the air in Free Play and check before trusting it in a match.
Positioning habits in open play
Reading the ball is also about letting someone else take the risky touch. In 1v1, the same creator's standing habit is to wait for the opponent to hit the ball first, then react to its new path — their touch tells you where the ball is going, and you challenge with that information. The 1v1 guide builds on this matchup.
Keeping the ball readable is a camera job too:
- Play with ball cam on — the camera locks onto the ball, so it stays in view. Practice with it on and off, since adjusting takes time.
- Try a far, zoomed-out camera to see more of the field and spot where the ball is heading. Our camera settings guide walks through the presets.
- If your Roblox client allows saved control profiles, set up a grounded profile with slightly lower look sensitivity so soft redirects stay readable while you steer.
Quick practice drills
Work these in order — each one makes the next safer to attempt:
- Learn the bindings first. Start in Free Play or Casual and get comfortable with the boost and jump controls before worrying about touches. The controls guide lists them.
- Run one clean-steering match. Spend a single casual match focusing only on steering cleanly into the ball. Cut unnecessary camera wiggles, and keep your boost finger ready but idle until the touch window actually opens.
- Use the mini-game ring courses before matches. Flying through rings practices car movement and control in an environment where losing control costs nothing.
- Add height last. Only once grounded drive-throughs feel automatic, add the boost–jump flick, then mid-air redirects.
See those touches demonstrated at full speed in the tips run-through below — including the landing circle and the grounded first touches this page drills:
Keep one expectation in mind while you drill: all documented touch outcomes are qualitative (flick, launch, redirect) — there are no exact power, angle or distance values, so tune each contact by watching the ball, not by memorizing numbers. And if touches suddenly feel erratic online, it may not be you: in one recorded session, misses were attributed to Roblox server lag spikes rather than player input.
Once clean contacts are automatic, the shooting tips guide is the natural next step — it builds finishing on top of exactly the touches this page covers.
Related Guides
Controls for PC, Mobile, and Console
Confirmed PC keybinds, a player-tested controller layout, and mobile touch roles, with unknown binds clearly flagged.
Shooting and Goal Scoring Tips
Line up behind the ball, finish ground shots at the far post, and know exactly when a goal counts.
Minigames Guide
Pick the right drill: Rings trains aerial control, Shot on Target trains placement, plus Volleyball and Kart.