Turbo Soccer Shooting and Goal Scoring Tips
Turbo Soccer shooting tips that work: line up behind the ball, finish ground shots at the far post, and know exactly when a goal counts.
Turbo Soccer is a Roblox car-soccer game — drive into the ball and score in the other team's goal — so every chance comes down to the same repeatable sequence. The version the game's beginner guide teaches, paired with the finishing target the practice guides converge on, is:
- Drive to the ball. Steer with WASD and hold Left Mouse for a speed boost on PC.
- Line up behind the ball, facing the goal. Use short boosts to adjust your approach instead of rushing straight past the ball.
- Drive through the ball toward the net, finishing a low ground shot at the far post.
That is the core shot. Below you'll find what the game actually counts as a goal, how to position each attempt, the touches that give you more control, and what to do when a shot is saved or sails wide.
What counts as a goal
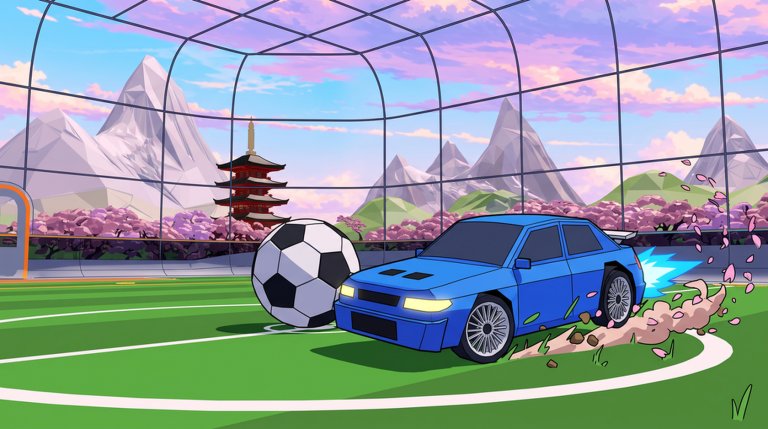
A goal registers when the ball goes into the opposing net, and the game makes that registration visible. In Free Play, a ball driven into the net produced an on-screen "Goal successful" confirmation followed by a replay of the play. In match footage, the scoreboard changed and the point was awarded the moment the ball went in, with replays of the scorer part of the flow; a goal in one private match also triggered a goal explosion effect.
Two timing rules decide whether a late shot still counts. A Beta 1.0 comparison review documents both, and match footage is consistent with them:
- The zero-second rule. A match timer hitting 0:00 does not end the game immediately — play continues until the ball touches the arena floor, so a shot released as the clock expires can still count. High-rank footage shows players scoring and celebrating exactly these zero-second goals.
- Sudden-death overtime. If regulation ends in a tie, the next goal scored seals the victory.
After every goal, play does not resume from open field — it restarts with a kickoff behind a 3-2-1 countdown. One recorded six-goal stretch shows the cycle clearly: each goal was followed immediately by a fresh kickoff, and the restart turn alternated between the teams. Matches run on a clock, so this goal-and-kickoff loop repeats until time expires. The kickoff guide covers winning that restart.
Positioning for a shot
The guide's key positioning instruction is the shot-timing step: approach from behind the ball, face the goal, and drive through it. Coming from behind means your contact pushes the ball ahead of you toward the net instead of nudging it sideways or backward.
Three beginner tips refine the approach:
- Keep Ball Cam on when you lose track of the ball.
- Use short boosts to line up your shot instead of rushing past it — boosting flat-out through the ball is the classic rushed miss.
- Practise flips in Free Play before attempting aerial shots in Ranked.
For the finish itself, the target the practice guides converge on is the far post. The standard drill is a three-minute ground-finishing block: ten far-post shots from the right, then ten far-post shots from the left. One warning comes with it — holding boost during finishing drills is a named way players waste the rep, so line the shot up first and let the contact do the work. Soft ground shots and far-post redirects are the named ground techniques, and far-post finishing is called out as one of the mechanical skills that transfers even when a car gets nerfed — worth drilling once, properly. Newer players also get a natural assist here: playtesters of Beta 1.0 found the ball noticeably large relative to the net, making basic shots easier to execute.
Controlled touches and rebound finishes
A full drive-through is the default contact, but some chances need something softer:
- Flip into the ball. Jump, flip in your chosen direction, and let the flip make a soft first touch you can steer — on PC a flip is Jump → Direction → Jump while airborne.
- Boost taps toward the net. Short, controlled touches that keep the ball in front of you; the drill standard is pushing the ball to midfield with half a tank of boost still remaining.
These are the touches the controls guide flags as the bridge into scoring and aerial play, and they build on the ball control basics. Once they are reliable, high-rank match footage shows where they lead: double taps, air dribbles, flicks and pinch plays, alongside less flashy finishes like a back-heel goal and a goal driven in from far away. Treat those as observations of skilled play, not guaranteed-goal moves — and follow the mobile guide's advice to save advanced freestyle for Free Play, since ranked games are won with simple, clean play.
Common misses and recoveries
Four miss types show up repeatedly in play:
- Saved. An opponent gets a touch on the ball. In one recorded session, a player whose shot was kept out toward the left deliberately switched his next attempt to the other side and scored — changing sides is the demonstrated answer to a repeat save.
- Rushed. You boost through the ball faster than you can aim it. The short-boost tip exists precisely because players rush past the ball.
- Hit the post or gone too high. Both appear in footage; the low far-post ground shot is the default answer to both.
Camera work is the other named culprit — players blame an unadjusted camera for missed shots, so keep Ball Cam on when you lose the ball and check your camera settings if shots keep straying. As for recovery, footage shows the pattern: when an open-net chance is missed, take the next free-goal chance immediately; when a well-defended "guaranteed goal" doesn't go in, write it off as bad luck and play on for the next possession. The setup doesn't change after a miss — only the side of the net you aim for.
Take the sequence into a match
Run the full loop in your next match: line up behind the ball with short boosts, face the goal, drive or flip through, and finish low at the far post — then do it again after the next kickoff, because every goal you score hands play back to one. The training guide turns far-post finishing into a warm-up routine, and the aerial guide picks up where ground finishes end. While you grind, active Turbo Soccer codes are kept on the codes page.
Related Guides
Camera Settings and Ball Cam
Find every camera option, toggle Ball Cam, and compare Competitive and Far views to keep the ball in sight.
Training Guide: Practice Routine
An ordered practice routine built from real drills, from Free Play contacts to Rings, Targets, and ranked-readiness checks.
Aerial Guide
Go from takeoff to a first controlled aerial touch with Right Mouse jump, float, flips, and a short Free Play drill.
Ball Control Guide
Learn how approach lines, contact points, and hitbox shapes steer the ball, and use the landing circle to position your car.